
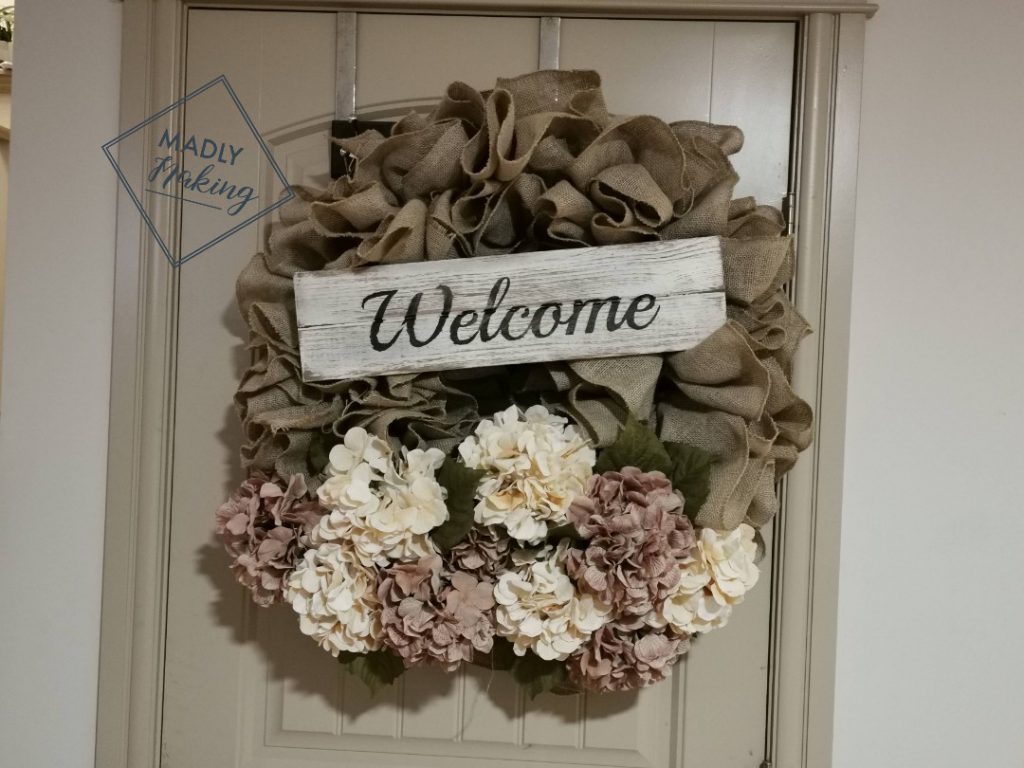
Tis the season…for wreaths of all mediums! While I’m making this one winter/Christmas themed, you can really use burlap for any season and occasion. And it’s definitely not just for a rustic look!
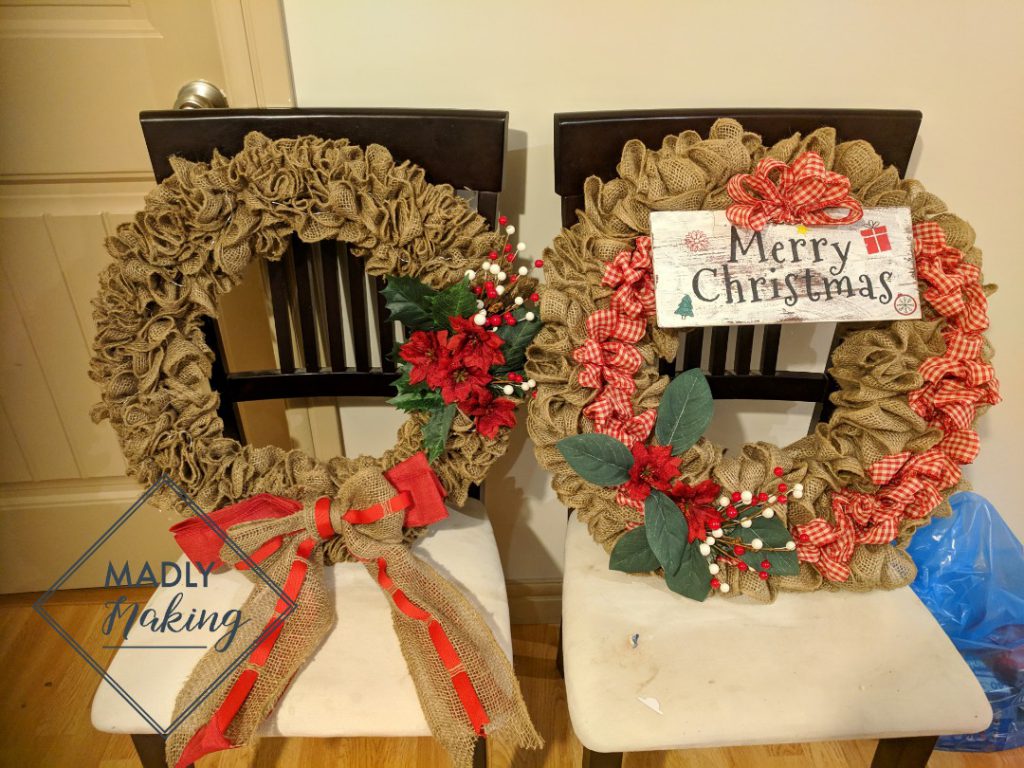
I fell in love with burlap wreaths last year. I was scrolling through Pinterest, and saw something for burlap garland. I think it was a link to an Etsy shop. And I figured…I can make this. So, I bought a roll of 5″ burlap, and some wired jute thread, and turned it into garland. And then, as it was laying on the floor, I imagined a wreath. So, I bought a wire wreath frame, and attached the garland to the frame. Boom! Beautiful burlap wreath. Fast forward some Christmas adornment, and hours of contemplation, and research.
And now I’ve made burlap wreaths in 3 different methods, with different widths of burlap, and for other seasons. And I still keep thinking of more variations!
That’s exactly what happened with this one. First, it was a Facebook video. Someone made a wreath with yarn. And then I saw something on Pinterest that was similar, except with rope.
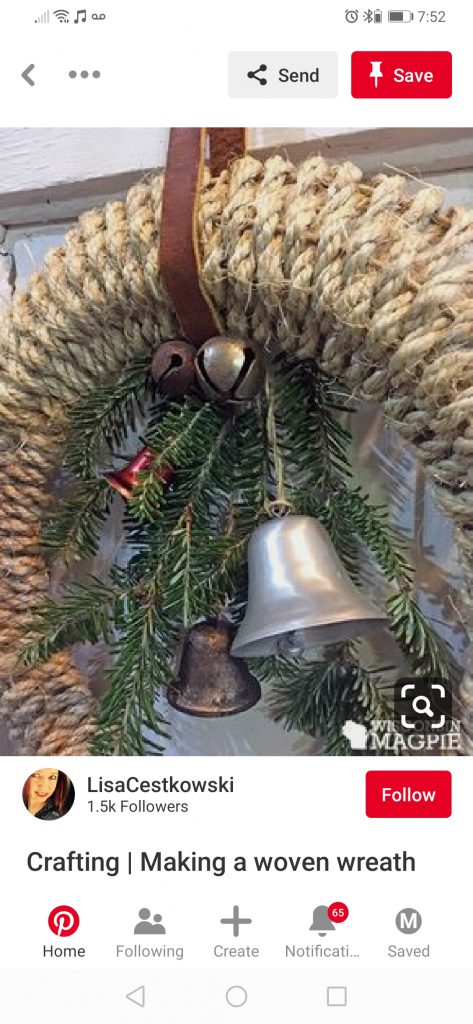

I wasn’t crazy about the straight rope wreaths…not pretty enough. And I’m not saying that they’re not pretty, please don’t misunderstand. I really like the smooth simplicity. They’re just not what I’m hanging on my door. And so, I thought….
Burlap AND rope?
Is that even possible?
Turns out….YES!!!!!
And would you believe, I couldn’t find anything on Pinterest? Or Etsy? Or even Google?!?
I’m so in love with the finished product, I can’t believe it hasn’t been done before. Or, at least, if it has, it hasn’t been online. Anywhere.
So….here it goes! If you love this look as much as I do, I’m going to tell you exactly how to make your own.
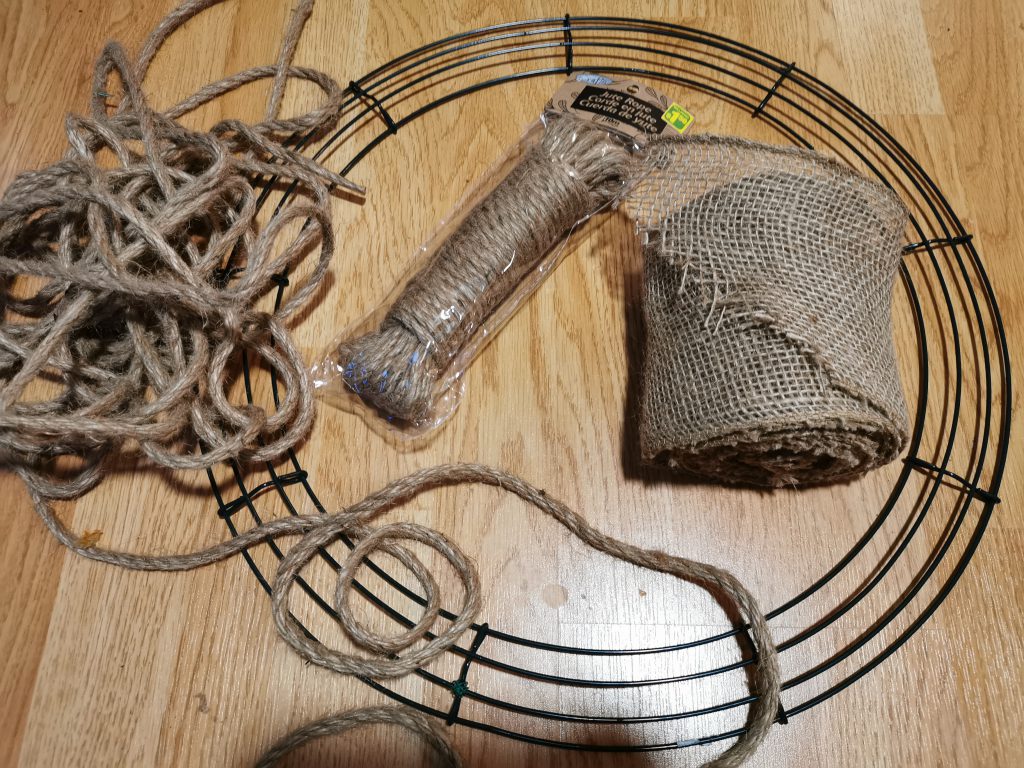
You will need a wire wreath frame, some jute rope (I used 15 meters), and 5″ burlap. This is just for the basic wreath, I’ll talk more about adornment later.
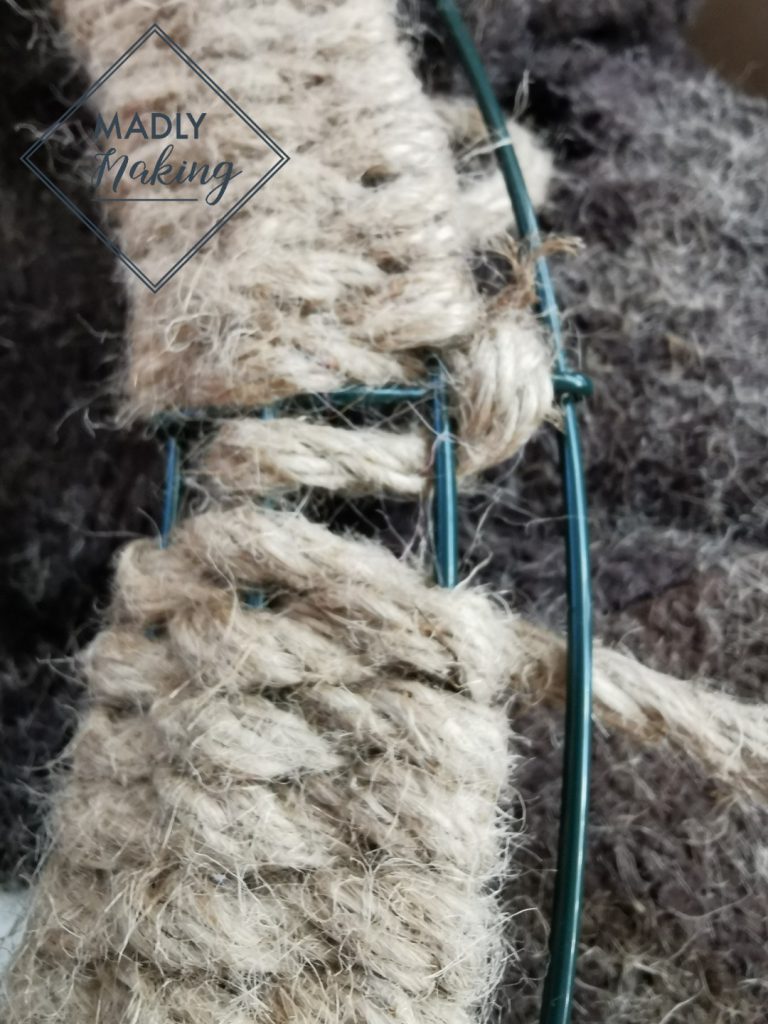
You’re going to start by weaving the tail of the rope under the bottom wire, over the second from the bottom wire, under the third wire, and then around, and work your way back down. Confused yet? See the pictures below.
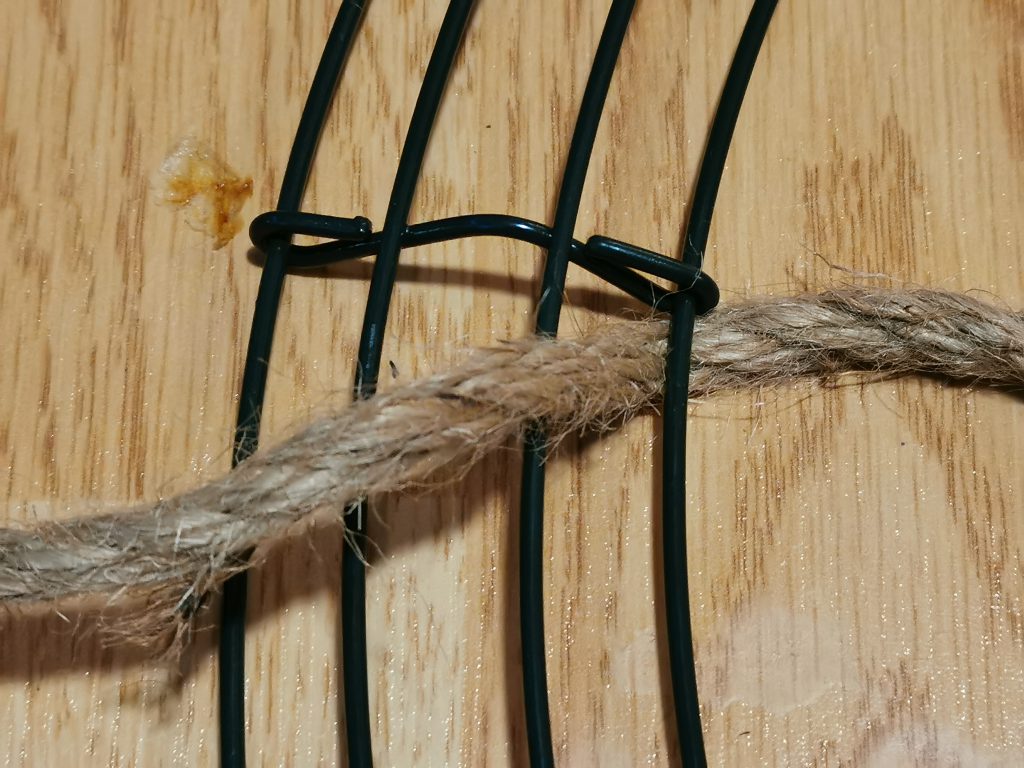
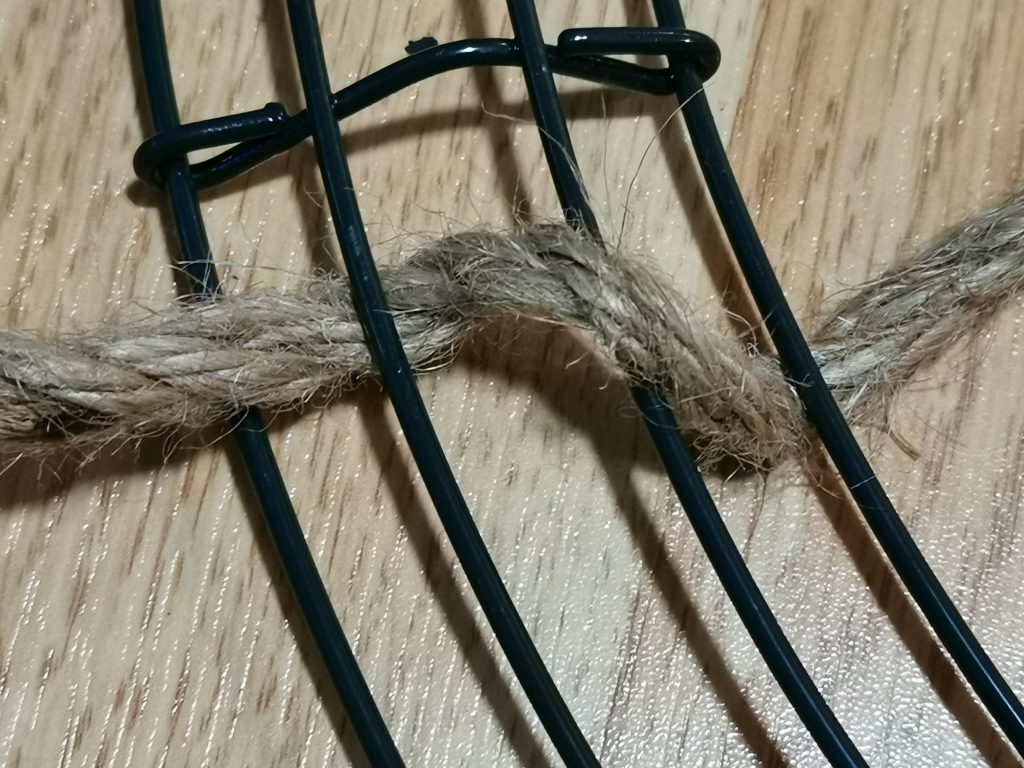
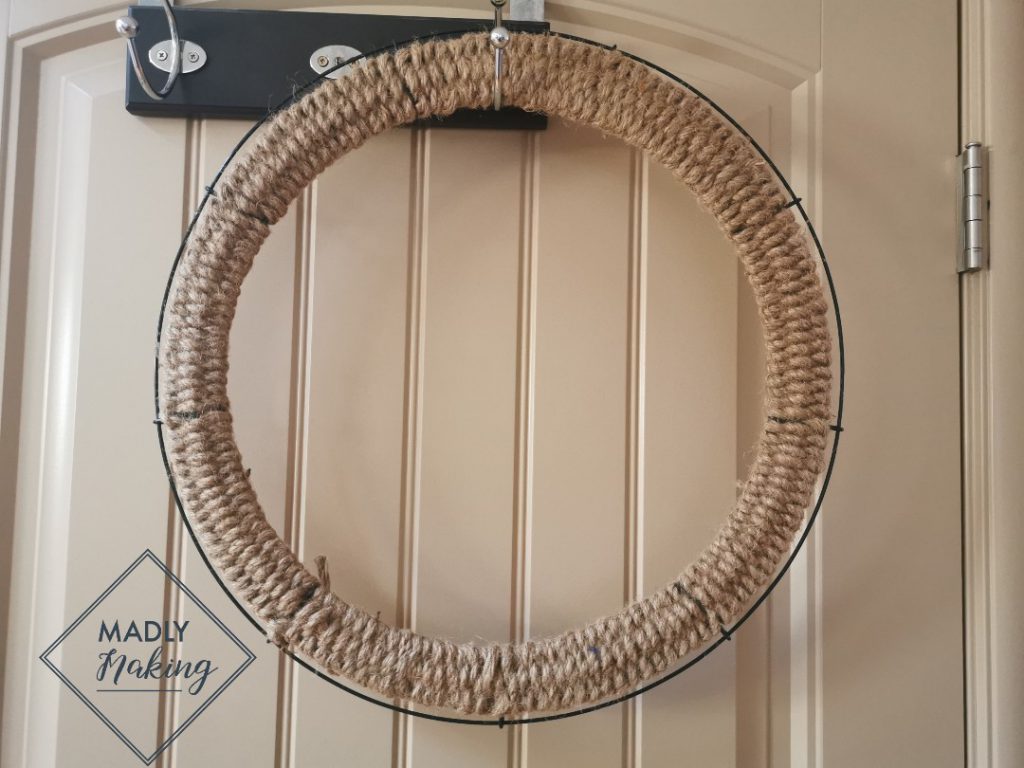
I like to tuck the tail in the first couple roads, just to secure your work. After 5 or 6 passes, it should start to look like this:

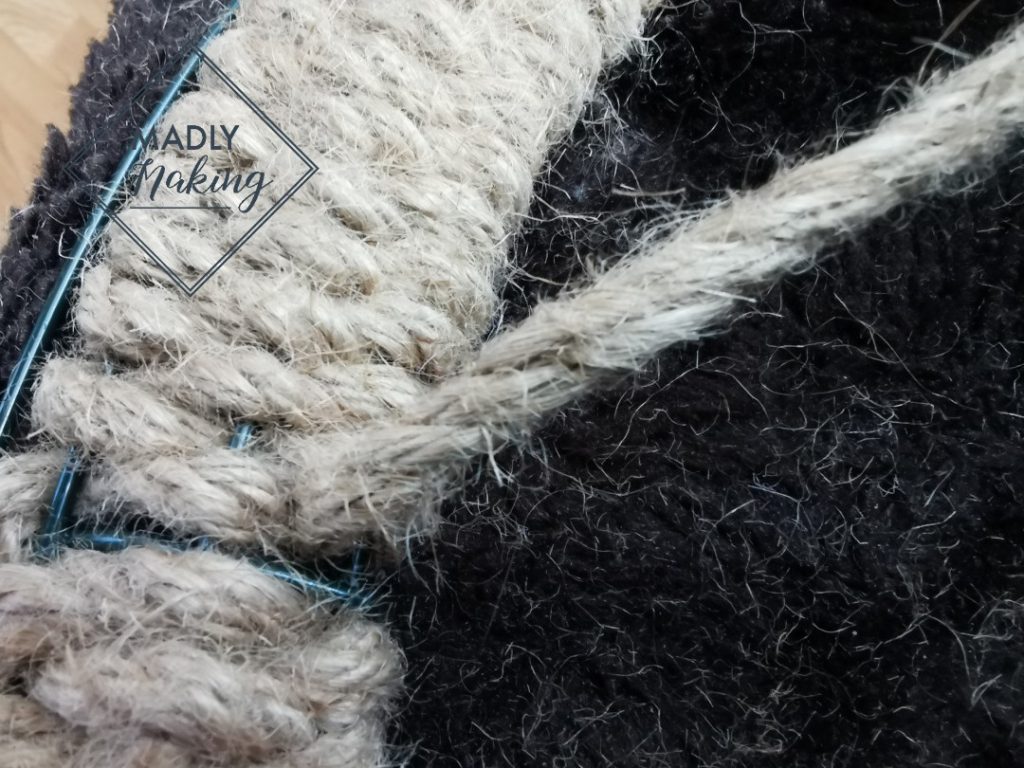
We’re working from inside, because the outer wire is reserved for the burlap. I’m not going to lie and tell you that this is a super quick and easy project. It’s not. Weaving the rope takes time. Especially when you’re doing it with the help of a three year old. At this point, I’ve probably had about 2 hours of reasonably steady progress. Please don’t let that deter you!
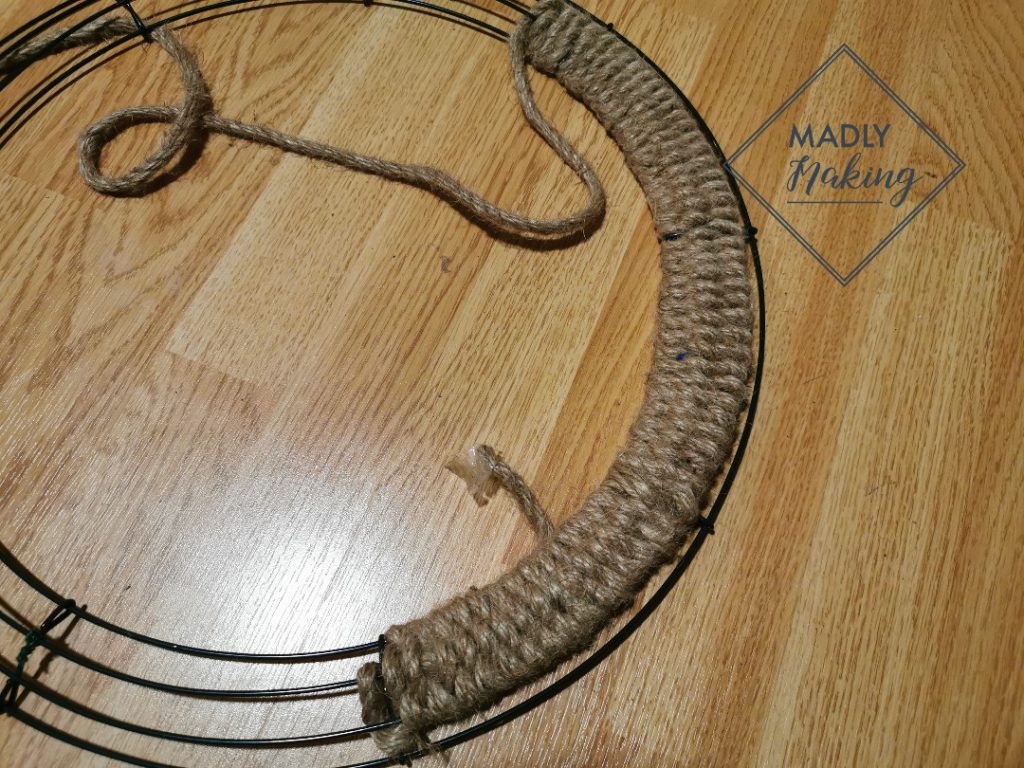
You definitely need to be conscious of your tension. You want your weave fairly tight, but you should be able to squish half an inch at the end of each section. This will make adding your decorations easier.
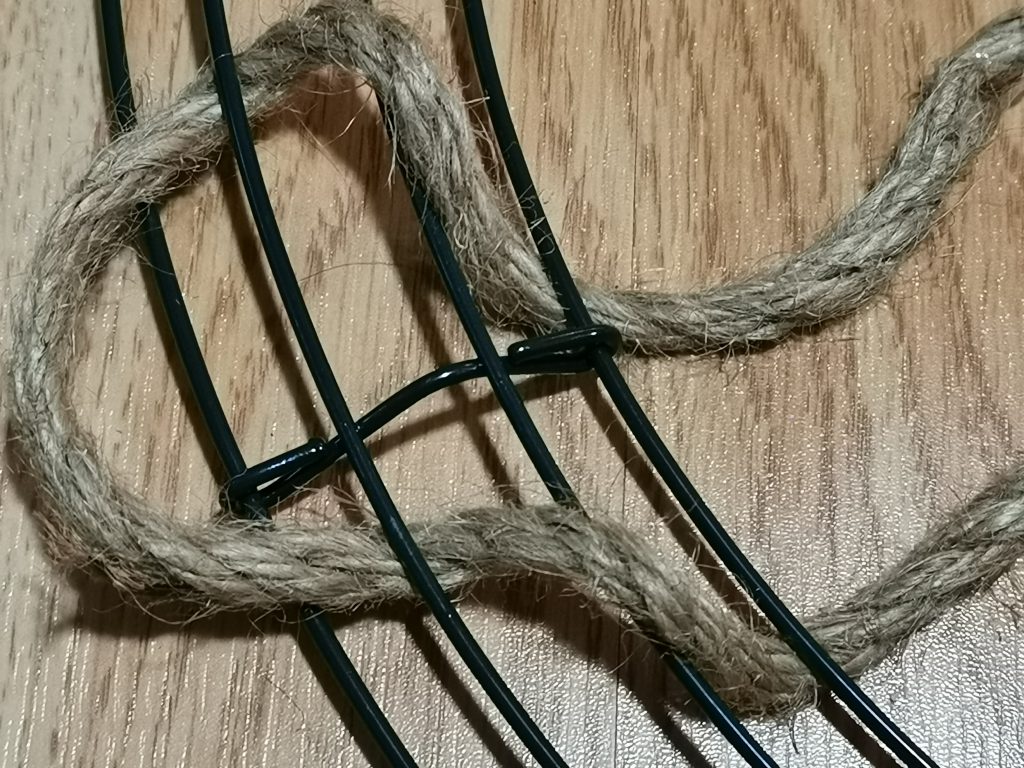
When you get back to the beginning, it’s time to tie in. You’ll notice the anchor loop from the beginning. Finish your final rows.
There’s a little bit of a gap at the bottom from the anchor loop. So, I wrapped the rope completely around the bottom wire only, before finishing my last row as normal. So, you basically go over the bottom wire, around, and over it again, and then under the second wire, etc.
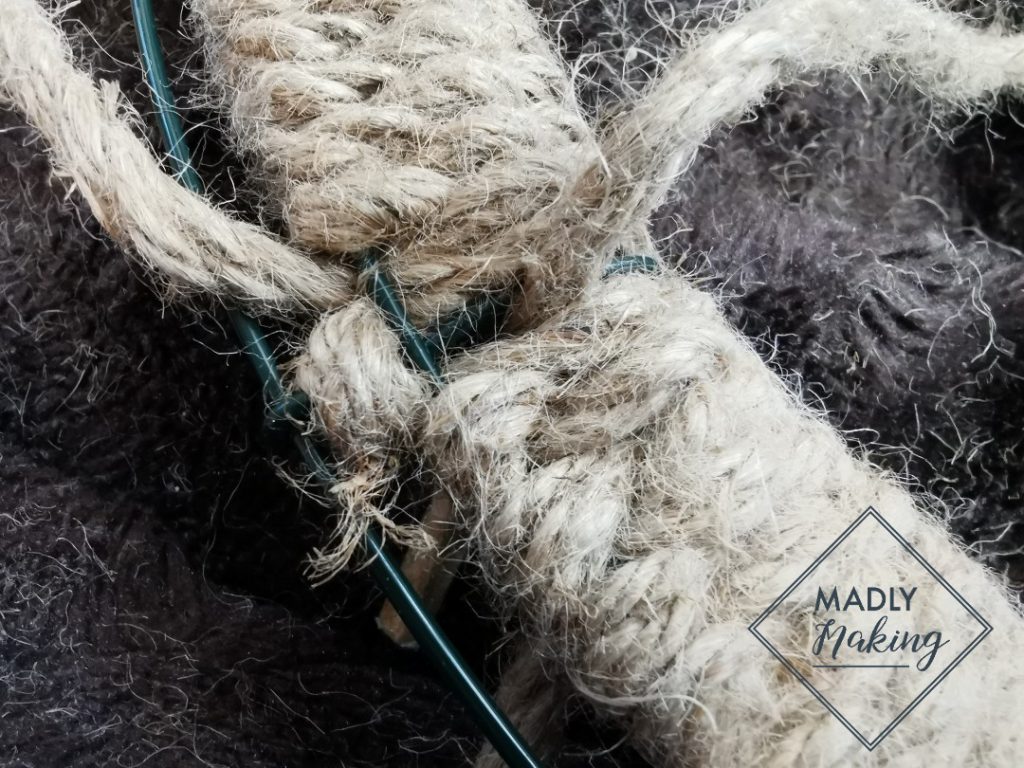
Then I went over the support post, and down between the second and third wires. I came back up under the second wire, and around the bottom wire.
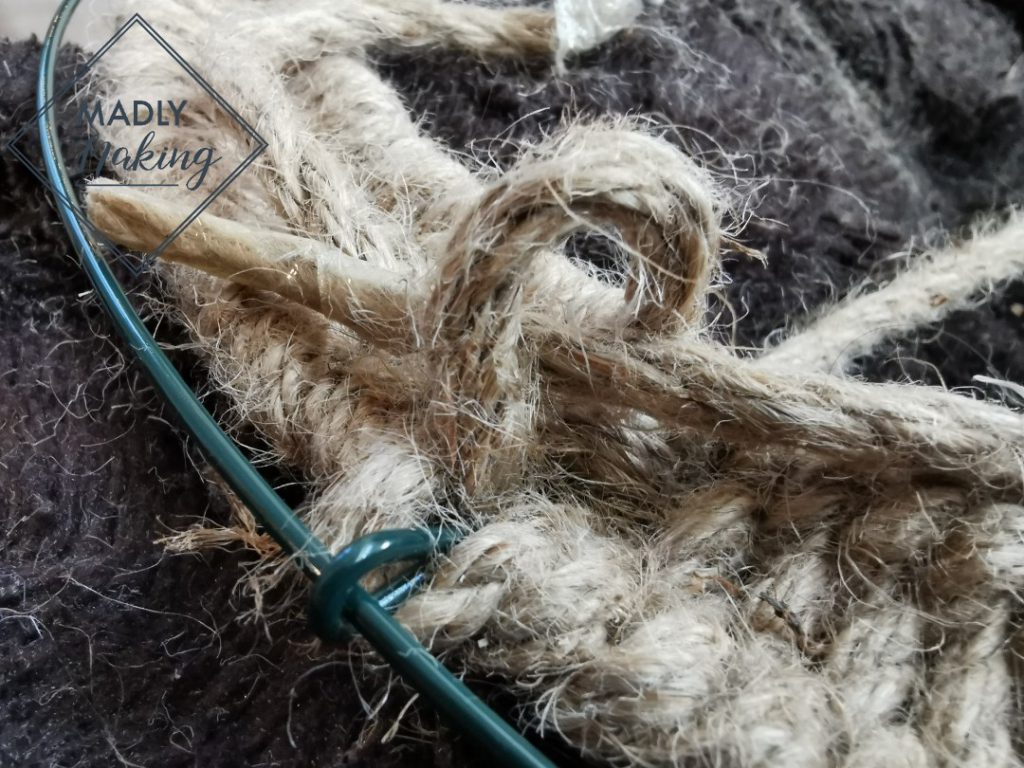
I left a loop to tie it off. Insert the loose end through the loop, and pull tight. You’re going to have to pull all the slack through first.
I’ll use the glue gun to keep the ends from sticking out and unraveling. Because in wreath making, hot glue is your duct tape.
Now it’s time for burlap! Take your 5″ burlap and fold it in half, length wise.
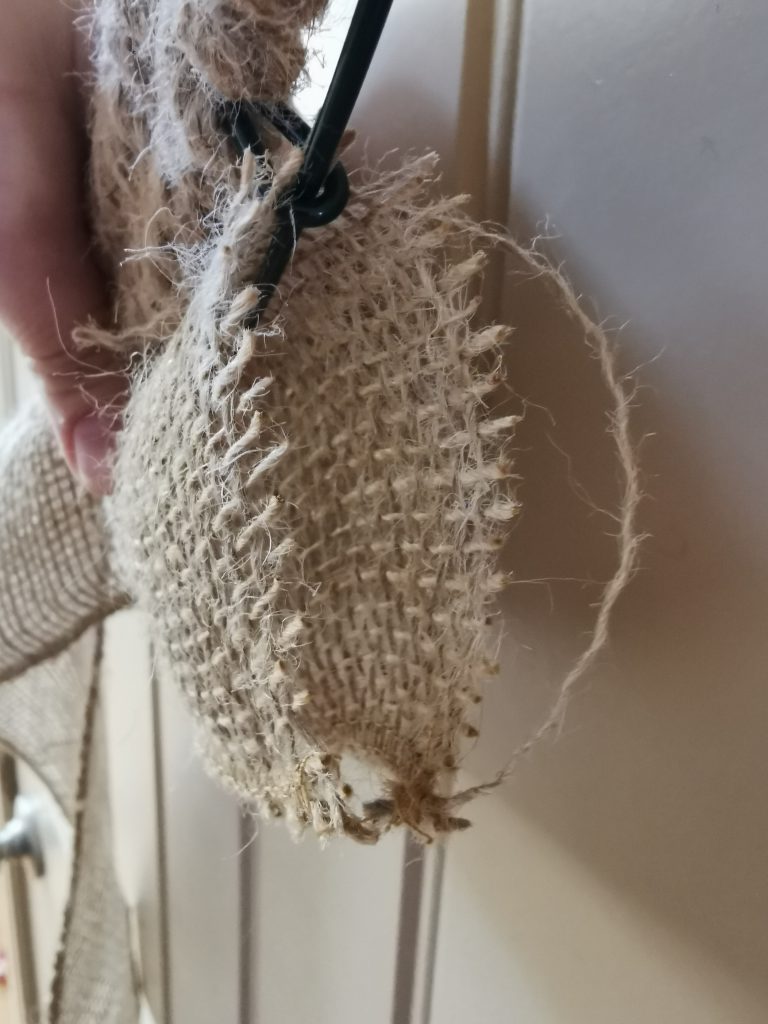
Feed one half under the outer wire, from the back. Always work from the back side! That’s where you’re going to hide everything!
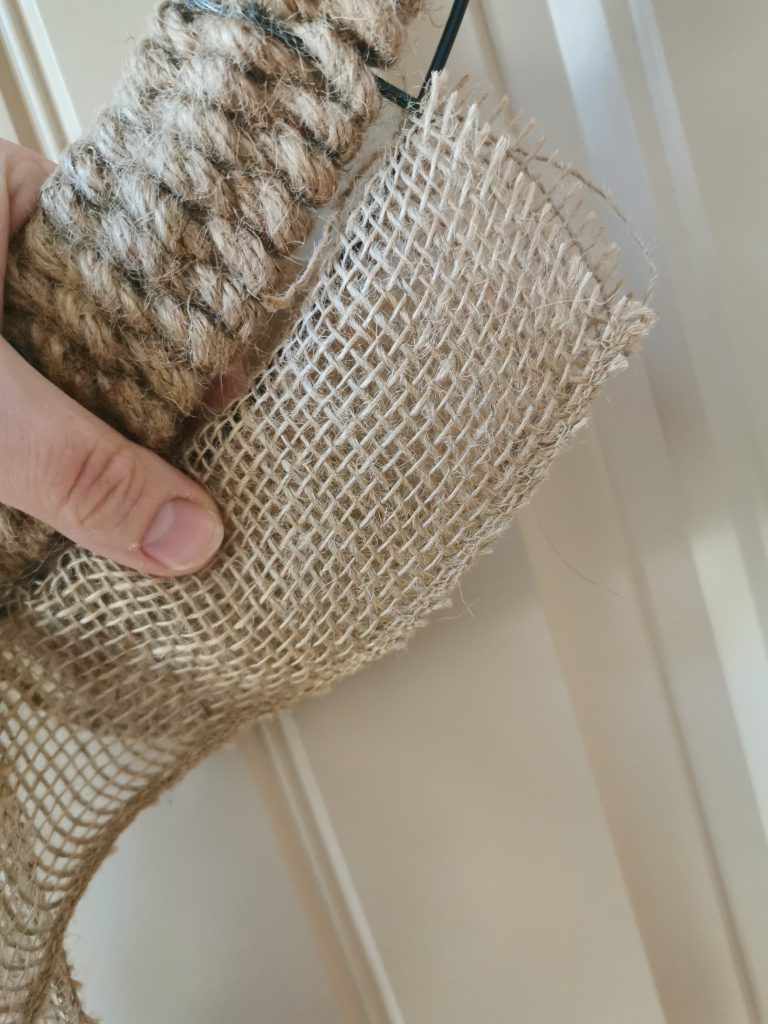
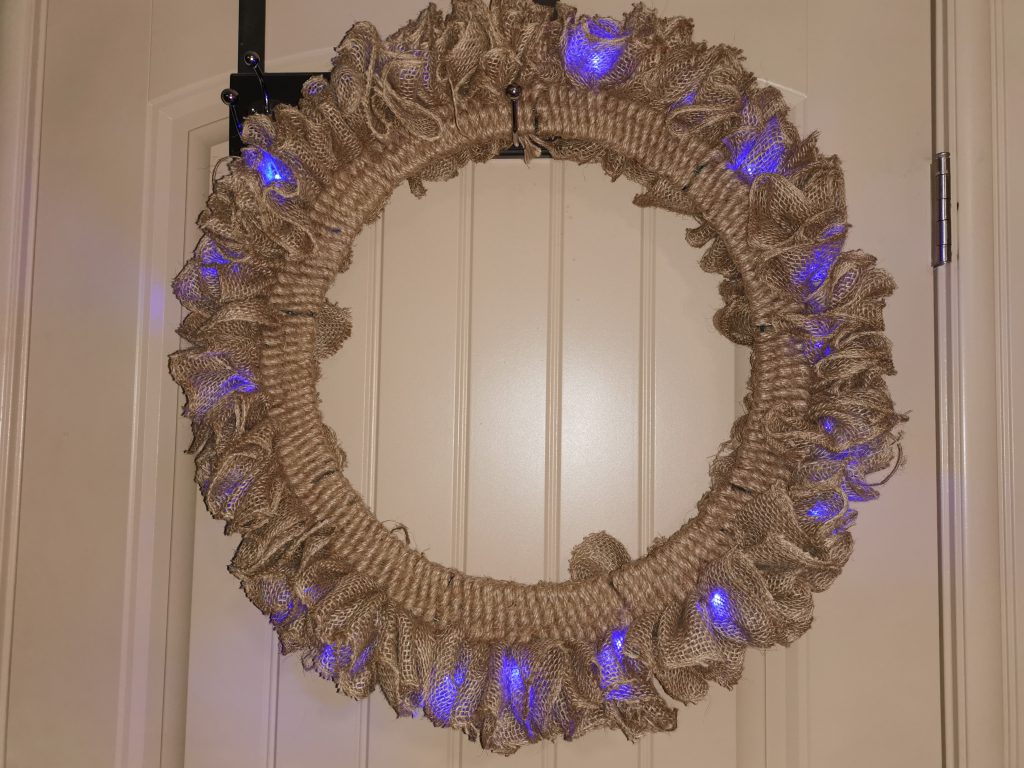
Then, you’re going to start scrunching! Just grab the burlap where it rubs the wire, and push it towards the beginning. Keep feeding the burlap through, and scrunching it up, until you have a beautiful ruffle filling the section.
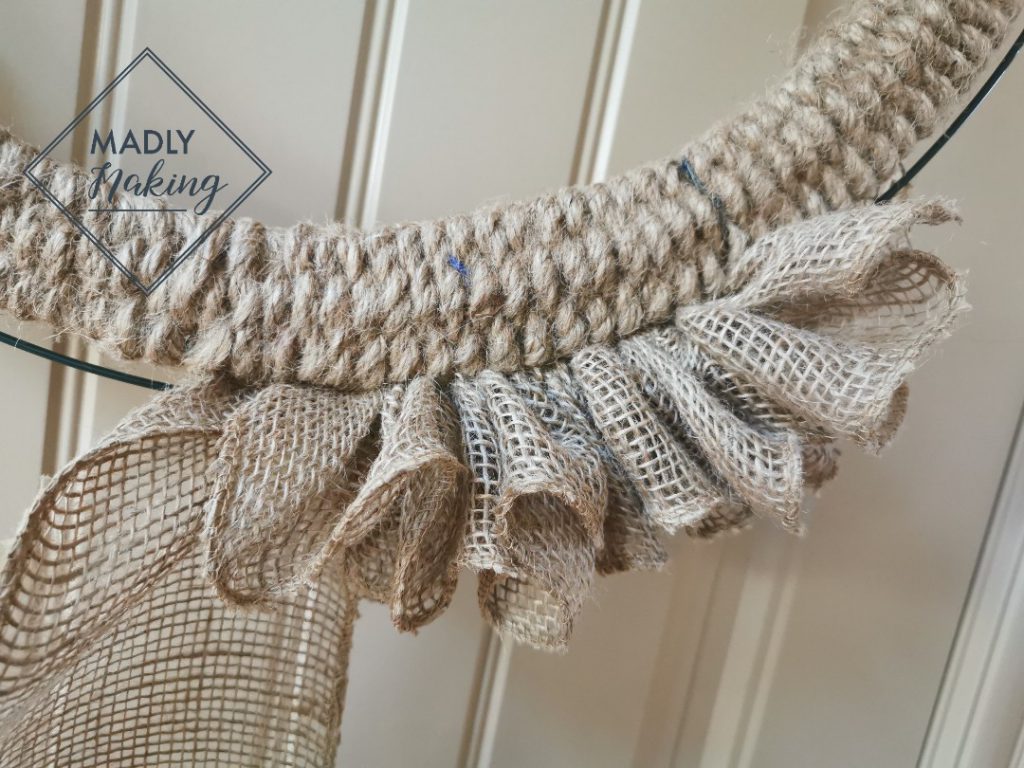
Work around the vertical posts, just keep pulling the burlap through on the other side. You want the ruffle fairly tight. I used about 17 yards to go around the outer wire.

Now you get to customize it, however you want! I bought some lights, they’re battery operated LED. But, the only outdoor use ones they had at the dollar store were blue.
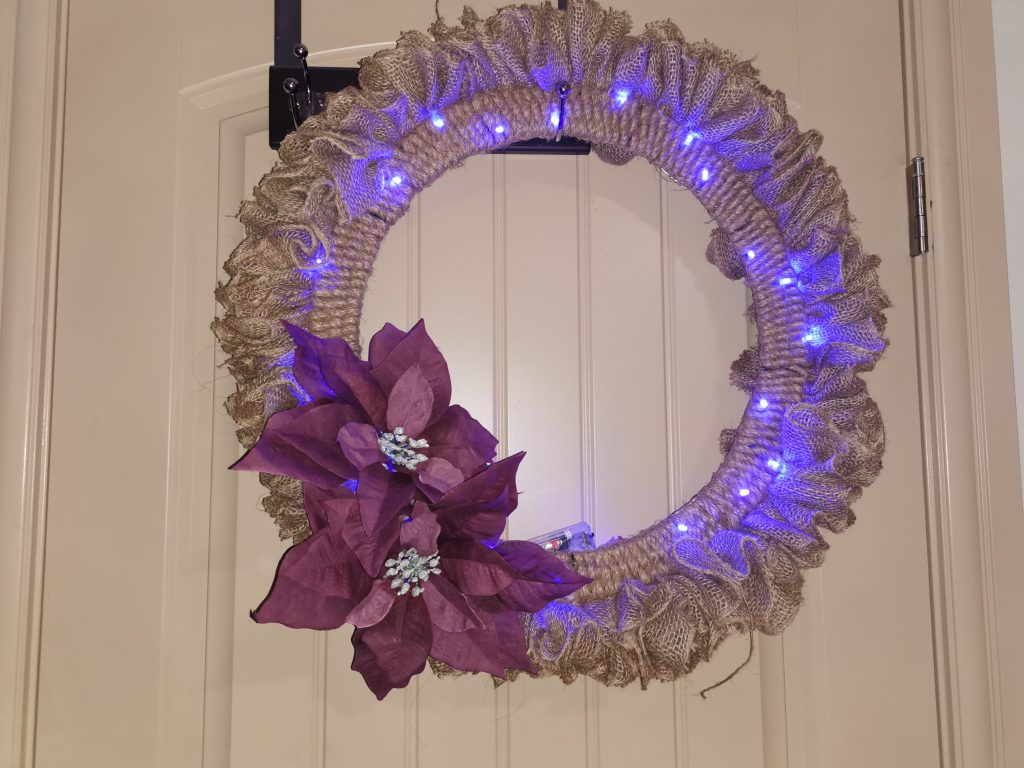
Seriously, you can do anything at this point. I was imagining a winter/snow and ice theme. Until I started looking at flowers. I usually spend 4 or 5 days thinking, and arranging, and thinking some more, before I finally glue or wire everything in place.
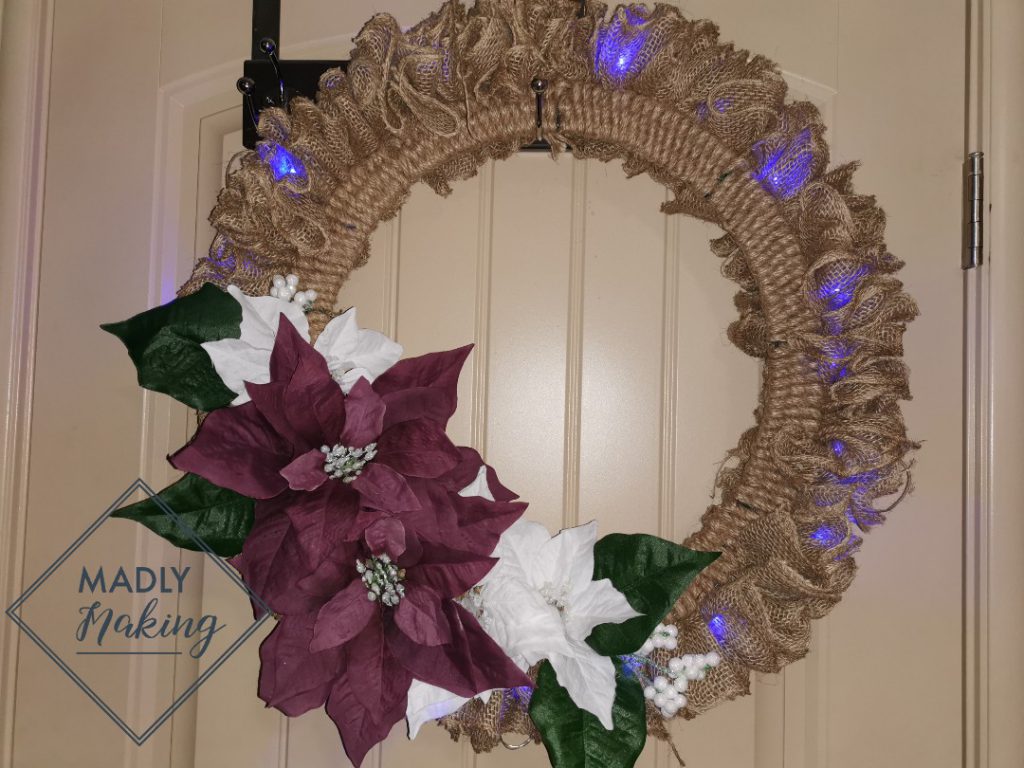
I really hope you love this style as much as I do. I’m definitely going to make more, even if this technique takes much longer. Because, seriously, how pretty is this?!?

